Meaningful Selections Integration

Overview
The Meaningful Selections integration with MIS Professional allows end users to work in the online Batesville catalog application (Meaningful Selections) and achieve two things:
- Import and Update the complete Batesville Product catalog as well as Pricing for those items into MIS Professional
- Automatically send products chosen in the Meaningful Selections application and send them over to MIS Professional for contract creation.
Once setup, Meaningful Selections can be accessed from the Family Arrangement Planner Menu screen, under Memorial Products and also via the Meaningful Selections button in the footer of the Contract screen (for Open contracts).
Note that the button only appears in the footer for cases that have locations setup for use with a Meaningful Selections account.
Workflow
To use this feature, Meaningful Selections items must be IMPORTED into MIS Professional prior to first use.
Setup and Importing of Items must be completed with Technical Support before this feature can be used.
Contract Entry with Meaningful Selections items:
- Create or select an At Need - Open case that uses a Location which is setup for use with a Meaningful Selections account. You can start with a Case that already has a Contract started on it, or you can use a Case that does not have a Contract on it yet at all
- Note that you can also use this feature with Open Pre Need and Miscellaneous Contracts, by using the ‘Meaningful Selections’ button in the footer area of the Contract screen
- Navigate to Case Summary
- Then click the arrow in the top right hand corner to navigate to the Family Arrangement Planner Intro screen
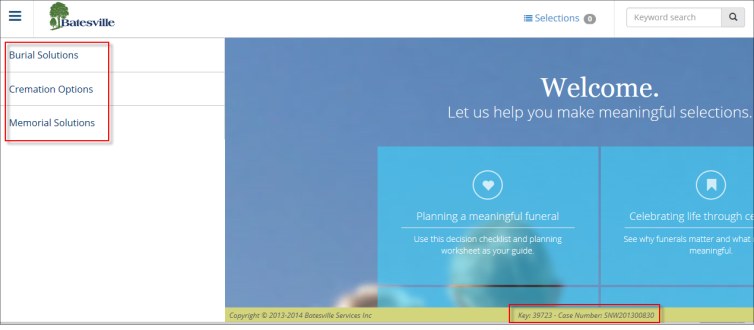
- Click the “Memorial Products” square, this opens a new window to the Meaningful Selections application and automatically logs the user in
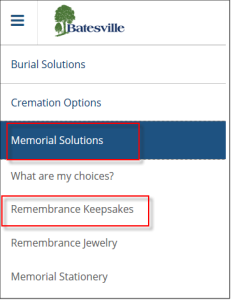
- Once logged into the Meaningful Selections application, expand the side bar by clicking in the upper left area of the screen. Here you choose which category of item you want to browse: Burial Solutions, such as Caskets, Cremation Options, such as Urns or Memorial Solutions, such as Keepsakes and Stationery
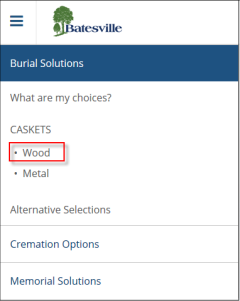
- For this example, select Burial Solutions. Under ‘Caskets’ select ‘Wood’. This will open the item list of Caskets that are made of wood
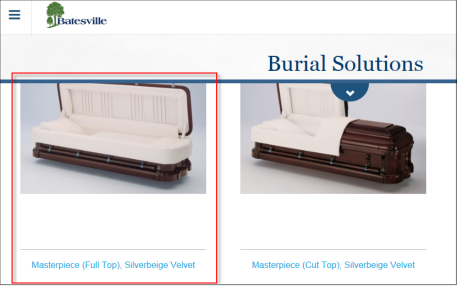
- Choose the ‘Masterpiece (Full Top), Silverbeige Velvet’ casket item:
- See that the item displays with more detail. Choose it by clicking on the ‘Add this item to my selections’ link.
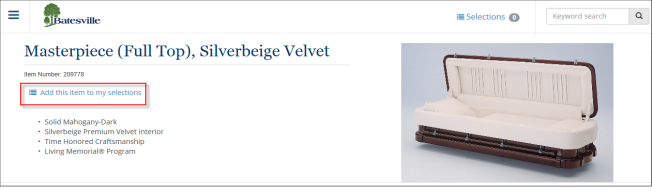
- See that the Selections ‘cart’ now has a ‘1’ in it:
- Again, for this example, expand the left side bar area again and choose ‘Memorial Solutions’ and then ‘Remembrance Keepsakes’:
- Choose the ‘Eagle in Flight’ keepsake
- Add this to your Selections cart also.
- See that the Selections cart now has a ‘2’:
- Click on the blue Selections cart button. This opens the Selections cart up, where you can remove items, change the quantity of items or add a memo. Please note that memos do not currently come over to Pro.
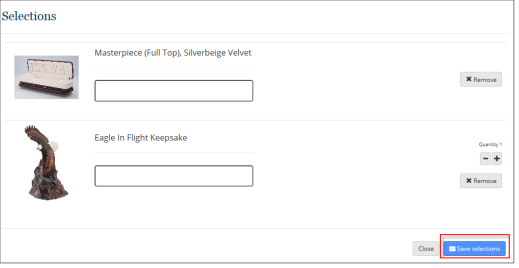
- Click on the ‘Save Selections’ button in the bottom right
- The ‘Customer Details’ window opens.
- See that the following information has automatically come over from the Pro case into this screen:
- The Decedent name
- The Purchaser name
- The Purchaser address and contact information
Note: At this time we do not send information back to MIS Professional for Name/Address, please do not update any information on this page, it will not update in Professional.
- Scroll to the bottom and click ‘Save’. Please note that it is this step that sends the Selection items over to the MIS Professional Staging table.
- Close out of Meaningful Selections, but stay logged into the Pro application.
- In the Pro application, navigate to Contracts - Contract
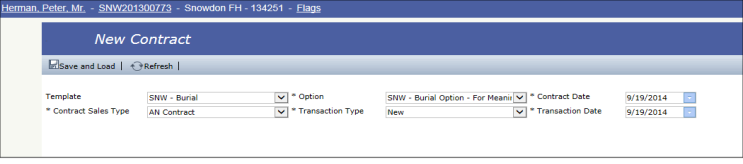
- Verify that the new contract window opens, where you select a Template and Option.
Because you selected a Casket, select a Burial Template and Option that will accommodate a Casket line item:
- Click the Save and Load button
- You will receive a message that the items were added to the contract:
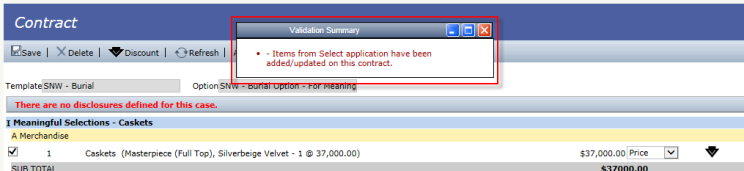
- See that the items automatically populated to the Contract:


- You can now Save and Post the Contract when ready.
Notes/FAQS:
- After you Upload and/or Post a Contract, you can no longer access Meaningful Selections from that Contract. This is in line with the way MIS Professional works for any contract modification.
- You do NOT have to use an item that is brought over from Meaningful Selections. To remove a Meaningful Selections item, once on the contract screen in MIS Professional, simply uncheck the item and it will not be included on the Contract.
- If Meaningful Selections items are chosen that do not fit into the MIS Professional Template/Option that are being used on the Contract, the end user will receive an error message indicating such, so they can delete the current contract and create a new one with the correct Template/Option.
- Items from Meaningful Selections for that case will be held in the Staging table until they are successfully tied to a Contract.
- You may have both ‘regular’ MIS Professional items as well as items that come over from Meaningful Selections on the same contract.
- If an item comes over from Meaningful Selections with a Price of $0.00, you can either set the item to be Included, Declined or give it a real Price.
- The ‘Additional Offerings’ feature in Meaningful Selections allows users of that application to add items to their virtual showrooms that have different Manufacturers (other than Batesville). If items exist for Additional Offerings, they must be imported first (just like the main catalog of items). After they exist in the Item master table, they too can be added to MIS Professional contracts in the same manner that Batesville products are added (via the Selections cart transfer).
- If the price of an item in Meaningful Selections does not match the price of the same item in the MIS Professional item master, the system will give the user a soft-warning, "The price of the item in Meaningful Selections does not match the price in MIS Pro. You may need to refresh your pricing." With respect to this:
The message will only display once and not for every Meaningful Selection item price that does not match the item master.
The message is a soft warning, therefore user will be able to dismiss the message and continue with the contract.
The price the system will use on the contract is the Meaningful Selection price and not the price from item master